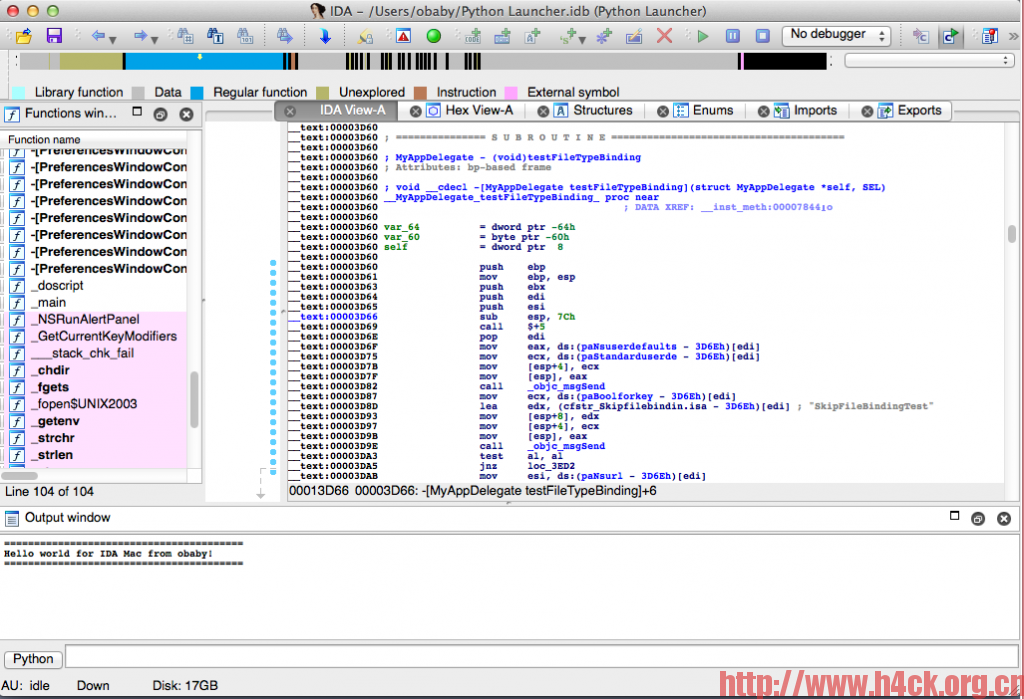
Windows版的插件编写可以参考的文档比较多,并且也有专门的向导可以来做这件事情,相对来说比较简单。但是针对Mac下的插件编写虽然也有一些参考文档但是都比较老旧。有参考价值但是意义不大,形同鸡肋。Windows下的插件编写可以参考下面两篇文章中的向导:IDA Pro Plugin wizard for vs2013 以及 Ida Plugin Wizard For VS2010。
现在开始正题,测试环境为:
Mac OS 10.9.4
Xcode 5.1.1
IDA Pro For Mac 6.5+sdk65
如果环境不一样可能存在些许的差异,下面开始说插件的创建方法。
- 运行Xcode选择新建项目,从OSX中选的Framework & Library类,然后选择STL C++ Library(注意不要选择C/C++ Library,选择该项会在编译的时候出现非常多的诡异的错误,即使能够解决也相当的麻烦。)
- 点击next进入下一步,输入Product Name,这个选项可以随意,只是自己便于识别就可以了,注意Type要选择Dynamic。
- 继续Next,此时项目就已经创建好了,剩下的就是进行项目的一些配置了,打开编译选项找到Linking项目,在Other Linker flags中新建项目输入-lida
- 修改Header Search Paths,新建项目添加IDA SDK目录。
- 修改Library Search Paths添加dylib所在目录,如果路径存在空格需要加引号进行处理,否则在编译的时候这个字段会按照空格分隔为多个。
- 修改Packaging项目下的Executable Extension为pmc,如果需要可以修改Executable Prefix值。
- 修改项目的Architectures项目,如果不修改该项在Destination中只有My Mac 64bit编译选项,如果这个值没有候选值那么直接输入 i386 x86_64 保存之后就看到32bit的目标选项了。
- 将目标修改为32bit
- 添加项目源代码,测试代码为:
#define __MAC__
#include
#include
#include

int IDAP_init(void)
{
	// Do checks here to ensure your plug-in is being used within
	// an environment it was written for. Return PLUGIN_SKIP if the
	// checks fail, otherwise return PLUGIN_KEEP.

	return PLUGIN_KEEP;
}

void IDAP_term(void)
{
	// Stuff to do when exiting, generally you'd put any sort
	// of clean-up jobs here.
	return;
}

// The plugin can be passed an integer argument from the plugins.cfg
// file. This can be useful when you want the one plug-in to do
// something different depending on the hot-key pressed or menu
// item selected.
void IDAP_run(int arg)
{
	// The "meat" of your plug-in
	msg("===============================\n!");
	msg("Hello world for Ida Mac from obaby\n!");
	msg("===============================\n!");
	return;
}

// There isn't much use for these yet, but I set them anyway.
char IDAP_comment[] 	= "This is my test plug-in";
char IDAP_help[] 		= "My plugin";

// The name of the plug-in displayed in the Edit->Plugins menu. It can
// be overridden in the user's plugins.cfg file.
char IDAP_name[] 		= "My plugin";

// The hot-key the user can use to run your plug-in.
char IDAP_hotkey[] 	= "Alt-X";

// The all-important exported PLUGIN object
plugin_t PLUGIN =
{
  IDP_INTERFACE_VERSION,	// IDA version plug-in is written for
  0,					// Flags (see below)
  IDAP_init,			// Initialisation function
  IDAP_term,			// Clean-up function
  IDAP_run,				// Main plug-in body
  IDAP_comment,			// Comment – unused
  IDAP_help,			// As above – unused
  IDAP_name,			// Plug-in name shown in
						// Edit->Plugins menu
  IDAP_hotkey			// Hot key to run the plug-in
};
注意文件头定义的宏#define __MAC__,如果没有这个宏也会出现比较多的诡异错误!
此时直接编译会提示下面的错误:
/Users/obaby/codes/idasdk65/include/loader.hpp:779:38: ‘get_idp_descs’ has C-linkage specified, but returns user-defined type ‘const idp_descs_t &’ (aka ‘const qvector<idp_desc_t> &’) which is incompatible with C
打开Build Phases 找到Complie Soures 添加编译标签-Wno-return-type (或者-Wno-return-type-c-linkage)
- 现在就可以正常编译了,将编译好的pmc文件拷贝到IDA的plugin目录下,启动ida随便加载个文件,然后执行插件就可以看到输出效果了。
到这里32位插件的编译就结束了,64位插件的编译将会在后面进行整理。
参考文献:
http://reverse.put.as/2011/10/31/how-to-create-ida-cc-plugins-with-xcode/
http://www.binarypool.com/idapluginwriting/
猛击此处下载pdf版本!


8 comments
IDA Pro For Mac 6.5+sdk65
请问 mac版的IDA pro哪里有?博主提供了win版的破解,有mac破解的么?
http://yunpan.cn/cfjjHqA4EsCqb (提取码:766f) 6.1版的Ida pro for MacOS
非常感谢。
博主,mac版的ida还有吗
看雪论坛貌似还有
博主请问下64位插件编译你有整理出来吗?目前编译存在问题
nope 并没有
已经解决了